
Most homeowners have replaced a fence exactly once, maybe twice in their lives. That limited experience means the process often feels opaque, and small surprises turn into big frustrations. Knowing what actually happens, from the first phone call to the final post-set inspection, takes most of that friction away. Here is an honest, step-by-step account of how a professional tear-down and rebuild works, written from the perspective of contractors who do this every week.
Getting a Proper Assessment Before Any Work Begins
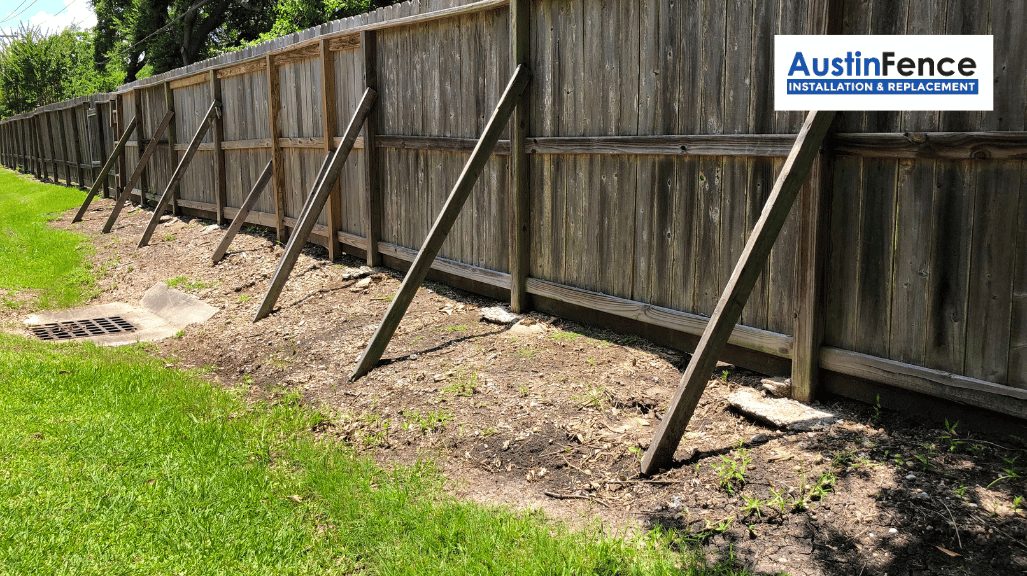
The job starts with a site visit, not a guess over the phone. A contractor needs to walk the property line, check for grade changes, identify buried utilities, and look at what the existing fence is doing wrong. Is the wood rotting at the base? Are posts heaving because they were set without concrete? Are the rails splitting because the original cedar was green when it was installed? Each failure mode points toward a different solution.
Austin Fence Pros consistently tells clients that the assessment is where the real money is saved. A rushed quote based on linear footage alone often misses things like a 14-inch grade drop along the back line or a gate that needs to swing over a concrete pad. Those details change material costs and labor time significantly.
During this visit, you should also confirm your property lines. Replacing a fence on your neighbor’s land, even by a few inches, creates legal headaches that no one wants. A plat map from the county or a recent survey is the cleanest way to verify. In Austin, TX, many older neighborhoods have property corners that are not where homeowners assume they are.
The Estimate, Material Selection, and Scheduling

After the assessment, you receive a written estimate. Read it carefully. A good estimate specifies post depth, post diameter, rail count, picket dimensions, and the species of wood if you are going with a natural material. Vague line items like “6-foot privacy fence” without those details leave room for misunderstandings later.
Material choice matters more than most people realize. Standard 4×4 cedar posts will last years longer than pine in Central Texas soil, especially in areas with heavy clay content. If budget allows, 4×6 posts on gate openings add real stability. For homeowners interested in lower-maintenance options, composite fence installation has become a practical alternative to wood, particularly in areas with direct western sun exposure.
Once you sign off on the estimate and pay a deposit, the contractor pulls a permit if required by your municipality and orders materials. Scheduling usually follows within one to three weeks depending on crew availability and material lead times. Longer jobs in larger neighborhoods like Northwest Hills in Austin, TX can take a full day just for demo, so timeline communication from your contractor matters here.
Demolition, Post Setting, and the Work Itself
Demo day is loud and fast. Crews pull old pickets, rails, and posts. Posts that were set in concrete require either a post puller or digging out the concrete footing entirely. Leaving old concrete in the ground and setting new posts alongside it is a shortcut that causes lean within a few years. Good contractors remove it.
Post setting is the most technically demanding part of the job. Posts go in at the right depth for your fence height, typically one-third of the total post length in the ground, and concrete is poured and allowed to cure before rails and pickets go on. Skipping the cure time is the single most common mistake that leads to fence lean. Austin Fence Pros requires a minimum cure period before any above-ground framing begins, and that is non-negotiable on their jobs regardless of schedule pressure.
Rails attach next, then pickets. On a privacy fence, picket spacing, alignment, and top-line consistency are where craftsmanship shows. A string line run the length of the fence keeps the top edge straight. Gates get hung last, with adjustable hinges so the swing can be fine-tuned after the concrete fully cures over the following days.
For properties that need more than a wood perimeter, this is also the right time to discuss an automated gate installation if access control is a priority.
Final Walkthrough and What Comes After
When the crew finishes, walk the entire fence line with the job supervisor before they leave. Check that every post is plumb. Test every gate latch. Look at the top line from a distance to spot any obvious dips. Any deficiencies found during this walkthrough are far easier to address before the crew demobilizes than after.
Ask about the warranty in writing. A reputable contractor stands behind their work on both materials and labor. Cedar will gray naturally over time, which is normal. What is not normal is a post leaning at six months or a rail splitting at the nail because it was installed wet.
Clean cedar can be sealed or stained within a few weeks of installation once the wood has dried. Sealing is not mandatory, but it extends the life of the fence noticeably in Austin, TX where UV exposure is intense year-round.
Austin Fence Pros operates out of 2005 Justin Ln Ste #101, Austin, TX 78757 and can be reached at (512) 354-7670. For homeowners who want a contractor that explains each step before the work starts, they are a well-regarded resource in the Austin area.
Frequently Asked Questions
What should I expect during the initial assessment for my fence project?
The contractor will walk the property line to check for grade changes, buried utilities, and the condition of the existing fence. This assessment helps identify specific issues that affect the solution and can save you money by avoiding rushed quotes based solely on linear footage.
How long does the entire process take from start to finish?
The timeline can vary depending on crew availability and material lead times, but scheduling usually happens within one to three weeks after you approve the estimate. Larger jobs in neighborhoods like Northwest Hills might take a full day just for demolition.
What are the most common mistakes to avoid during the installation?
One common mistake is not allowing the concrete to cure properly before attaching rails and pickets, which can lead to fence lean. It’s crucial to follow the required curing period, as skipping it is the most frequent error that affects the fence’s longevity.
What should I check during the final walkthrough after the work is done?
During the final walkthrough, inspect that every post is plumb and test each gate latch. It’s also important to look for any dips in the top line of the fence, as addressing deficiencies at this stage is much easier before the crew leaves the site.
Get Directions to Austin Fence Pros
🎧 Listen to this as a podcast
Also on Apple Podcasts, Spotify, and Amazon Music.
